How to Choose the Right LED Power Supply
Choosing the right Led Power Supply is not just a matter of matching wattage. The supply must also fit the LED’s voltage, current, dimming method, and operating environment. A mismatch can cause flicker, excess heat, or early failure. Small details matter.
Lighting researcher Dr. Ian Ashdown’s systems-based work offers a useful perspective. In paraphrase: “Reliable lighting depends on the whole system, not the LED alone.” That principle is especially practical when selecting a power supply. Check the fixture’s electrical specifications before comparing products. For example, a 24-volt LED strip needs a compatible constant-voltage supply; a high-power LED module may instead require constant current. Those options are not interchangeable.
Consider the installation, too. A supply placed above a warm ceiling may face different conditions from one installed in a ventilated cabinet. Look at its rated output, temperature limits, protection features, and stated service life. Leave sensible capacity headroom, but do not assume a much larger unit is automatically better. Controls matter as well: confirm that the supply supports the intended dimmer or driver interface.
One point deserves a second look: product labels can make selection seem simpler than it is. A rating alone cannot predict performance in every installation. This guide explains how to compare specifications, assess real-world conditions, and avoid common compatibility mistakes—while recognizing that the best choice still depends on the actual LED load and setup.
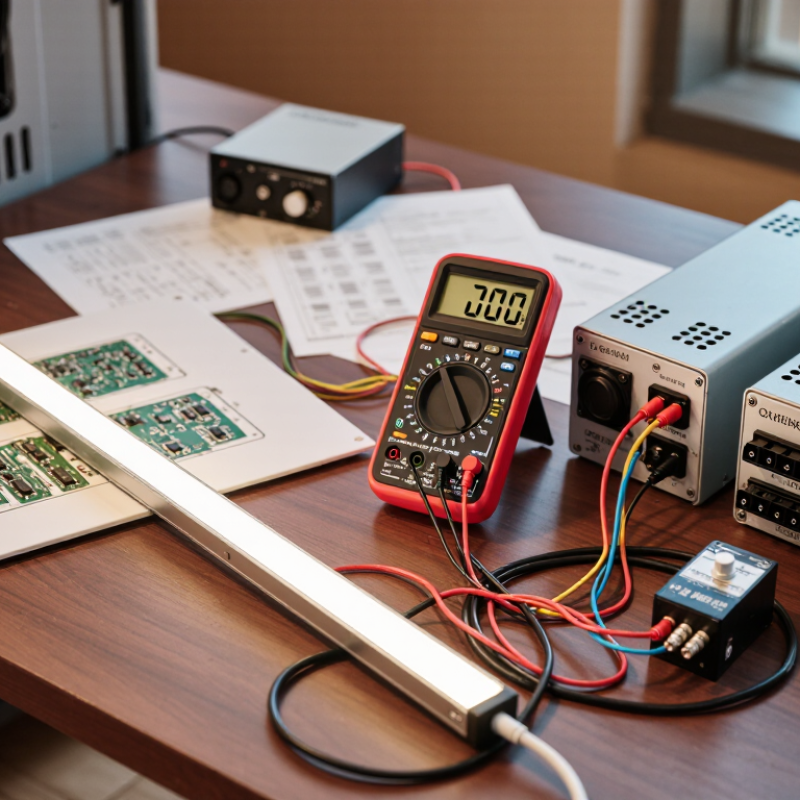
Identify the LED System’s Voltage and Power Requirements
Before choosing an LED power supply, identify the system’s required voltage and current type. Read the label. LED strips commonly use constant-voltage supplies, often 12V or 24V, while some fixtures need a constant-current driver. These are not interchangeable. Check the fixture or strip documentation, and match its specified output voltage exactly. Even a small mismatch can cause flickering, excess heat, or premature failure.
Calculate the total wattage of every LED connected to the supply. For example, four metres of strip rated at 9.6 watts per metre draw 38.4 watts. A supply rated around 48 watts provides roughly 20% capacity above that load, if the product guidance supports this margin. Keep the arithmetic visible. It is easy to overlook a short extra section or another fixture.
Check the installation details, too. Long cable runs can cause voltage drop, so the LEDs farthest from the supply may appear dimmer. Wire size, ambient temperature, and dimming controls can also affect the choice. Treat online estimates as a starting point, not a final check; actual layouts are sometimes less tidy than the drawing. Verify the complete load and the manufacturer’s operating limits before connecting the system.
Calculate the Power Supply Capacity for the LED Load
How to Choose the Right LED Power Supply
Calculate the LED load before choosing a power supply. For LED strip lighting, multiply its rated watts per meter by the total length. A 5-meter strip rated at 4.8 watts per meter needs 24 watts. Add about 20–30% headroom, so a supply rated near 30 watts is a practical choice. The extra capacity helps avoid continuous operation at the limit. It does not make an undersized supply safe.
Match the supply’s output voltage to the LED load. A 12-volt strip needs a 12-volt supply; voltage mismatch can cause poor performance or damage. You can estimate current by dividing watts by volts: a 24-watt, 12-volt load draws about 2 amps. Check the product’s rated power, not just its length. Dimmers, long cable runs, and warm enclosures can affect performance, so the simple calculation may need adjustment.
Tips: Check the label. Leave breathing room around the supply. If the installation includes several LED sections, add their wattages before selecting capacity. I’ve found it easy to overlook small connectors or extra strip sections; measure the actual setup again before powering it.
How to Choose the Right LED Power Supply - Calculate the Power Supply Capacity for the LED Load
Estimate the LED load, allow operating headroom, and select a power supply with the correct output voltage and sufficient wattage and current. The examples below use a 25% capacity margin.
| LED Load Example | LED Voltage | Load Calculation | LED Load | Minimum Capacity with 25% Margin | Example Supply Rating |
| 5 m of LED strip at 14.4 W/m | 12 V DC | 5 m × 14.4 W/m | 72 W; 6.0 A | 90 W; 7.5 A | 12 V, 8 A (96 W) |
| 5 m of LED strip at 9.6 W/m | 24 V DC | 5 m × 9.6 W/m | 48 W; 2.0 A | 60 W; 2.5 A | 24 V, 2.5 A (60 W) |
| 10 m of LED strip at 14.4 W/m | 24 V DC | 10 m × 14.4 W/m | 144 W; 6.0 A | 180 W; 7.5 A | 24 V, 8 A (192 W) |
| Six LED modules rated at 3 W each | 12 V DC | 6 modules × 3 W | 18 W; 1.5 A | 22.5 W; 1.88 A | 12 V, 2 A (24 W) |
| LED fixture rated at 40 W | 24 V DC | Use the fixture's rated input power | 40 W; 1.67 A | 50 W; 2.09 A | 24 V, 2.5 A (60 W) |
Calculation guide: Total LED load (W) = quantity or length × rated power per item or metre. Required supply capacity = total LED load ÷ 0.80. Supply current (A) = supply power (W) ÷ output voltage (V). Choose a supply with the same output voltage as the LEDs and a rated capacity at least as high as the calculated requirement. For dimmers, controllers, long cable runs, or high-temperature installations, also check their ratings and the supply manufacturer's derating guidance. Use a constant-voltage supply for constant-voltage LEDs; constant-current LEDs require a driver matched to their specified current and voltage range.
Choose the Right Output Type and Dimming Compatibility
Match the power supply’s output type to the LED load, not just its wattage. A 24-volt strip needs a constant-voltage supply; a constant-current fixture needs the specified current and voltage range. Check the load label and add the wattages of every connected section. Leave sensible capacity headroom, but avoid oversizing without checking the manufacturer’s guidance. It is an easy detail to miss.
Dimming must match at both ends: the supply and the wall control. A 0–10-volt driver will not automatically work with a phase-cut dimmer. Confirm the dimming method, wiring, minimum load, and whether the lights should dim to off. Test a short section first; low-end flicker or a sudden jump in brightness can expose a mismatch. The U.S. Department of Energy’s 2019 Energy Savings Forecast for Solid-State Lighting projected annual savings of 569 terawatt-hours by 2035 from LED adoption. That projection covers lighting broadly, not dimmer compatibility, but it shows why reliable system choices matter. Check the control’s compatibility list, too. The paperwork can be tedious.
Confirm Compatibility Before Installation
Before installing an LED power supply, check the fixture’s electrical requirements, not just its appearance. Match the supply’s output voltage to the LED system exactly. A 24-volt strip needs a 24-volt supply; a constant-current fixture needs a driver rated for its specified current range. Add the wattage of every connected section, then choose a supply with reasonable spare capacity. A reserve of roughly 15–20 percent is often useful, though the fixture maker’s guidance should take priority. Small details matter.
Confirm that the dimmer, control system, and power supply work together. Some dimmers cause flickering or a limited brightness range when paired with incompatible equipment. Check the supply’s input voltage and its rated environment, too. A unit placed in a damp area or a tightly enclosed cabinet may need suitable protection and ventilation. Before connecting wires, switch off power and verify polarity against the terminals and fixture markings. I have seen a correct-looking setup fail because one small label was overlooked. That is an easy mistake, and visual checks alone are not always enough. If the wiring or load calculation is unclear, pause and ask a qualified electrician to review the installation.